Posted on

Makerspace Program at SPL Main Library


Are you interested in learning about the availability of Makerspaces (with new technologies for you to use) in Saskatoon? Well…

I’m very excited to invite you to an exciting (free) program the the Main library (Theatre) on March 30th at 6 pm.

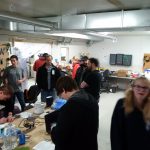
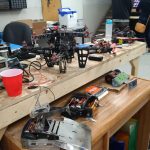
At 6 pm in the Meeting Room, there will be several local exhibitors available to demonstrate the new technology and Makerspace available locally. Following that, we will screen a film called “Maker”. The trailer is here:

http://makerthemovie.com/about/

Three speakers will follow:
– Albert La from Sask. Techworks
– Erin Romanyshyn from the new Round Prairie library
– Sheila Maithel from Tailor Magic

Reception, coffee provided. Free admission.

Posted on

ESP-12F and Breakout Board

The ESP8266 module is a cheap and relatively easy way to build an Arduino-style project with WiFi capabilities.  It’s not without its quirks, though.  The following should help you get up to speed quickly.

The ESP is a power hungry device.  It requires a solid 3.3V DC power supply.  (Probably in the 1A range, depending on what else you are powering from the same supply. It doesn’t draw this much steadily, but it draws bursts while transmitting.)  Make sure you have appropriate capacitors mounted as close to the module as possible.  Also note, this module is 3.3V and is NOT 5V tolerant.  If you apply 5V to any of the pins, you will destroy it.  Use something like this http://sktechworks.ca/product/quad-logic-level-converter/ to interface to any 5V devices.

Minimal Setup:
In order to operate, the ESP-12F module requires the following:

Pin Resistor Connection
VCC 3.3V DC
GND GND
GPIO0 Pull Up
GPIO15 Pull Down
CH_PD Pull Up

The breakout boards we have contain the resistors for GPIO15 and CH_PD.  The only connection you need to worry about is GPIO0, which toggles between “Run” and “Bootloader.”  (A pullup on Reset is not a bad idea, but not entirely required.)

Minimal for programming:
In order to program the ESP module, you need to pull GPIO0 low and have control of the reset line.

Pin Resistor Connection
VCC 3.3V DC
GND GND
TX RX on serial adaptor
RX TX on serial adaptor
Reset Pull Up RTS on serial adaptor or pushbutton to GND
GPIO0 Pull Up DTR on serial adaptor or jumper/button to GND
GPIO15 Pull Down
CH_PD Pull Up

If your USB-UART adaptor has RTS and DTR, you can program this module as easily as an Arduino.  If you don’t have those pins, don’t sweat it.  Simply wire GPIO0 Pulled UP, then jumper it to GND for programming.  Do the same with Reset. (Use a pushbutton for easier access.)  When you are ready to upload your new program, you will need to press and release the reset button. (or ground and unground a jumper.)

In your Arduino IDE, the current best package for ESPs is:
https://github.com/esp8266/Arduino

The installation instructions are fairly clear on that page.

Posted on

AGM Thank You!

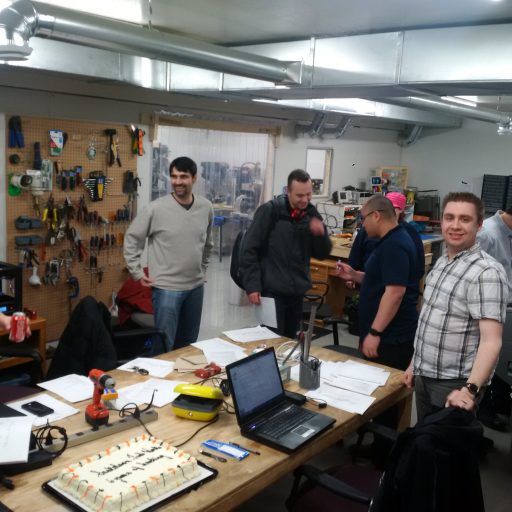
Thank you to everyone who came out for our Annual General Meeting.  This was our largest turnout ever.  (People kept arriving after we started, too, so the minutes don’t actually reflect the final number.)

The revisions to the bylaws were passed as proposed.  This will bring our bylaws better in line with how we have actually been operating for years.

Our new board was elected.  John Tumbach, Albert La, James Cooper, and Scott Walde all stood for re-election.  New this year, Andrew Wright was nominated.  All five candidates were elected unanimously.

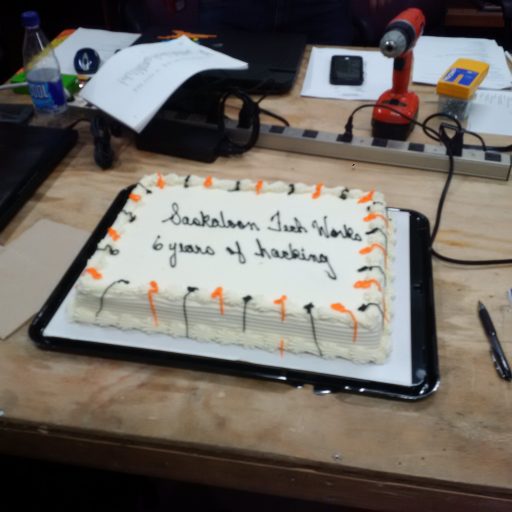
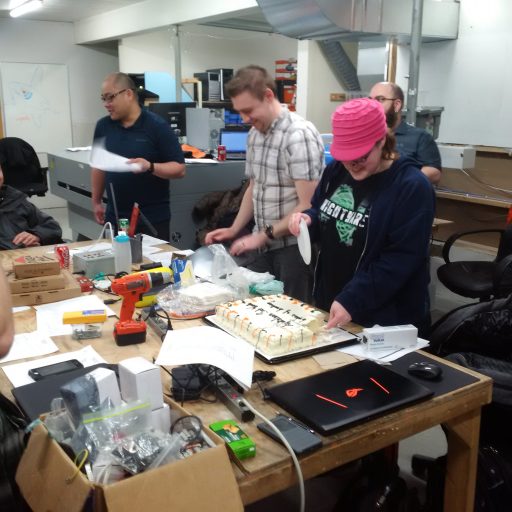
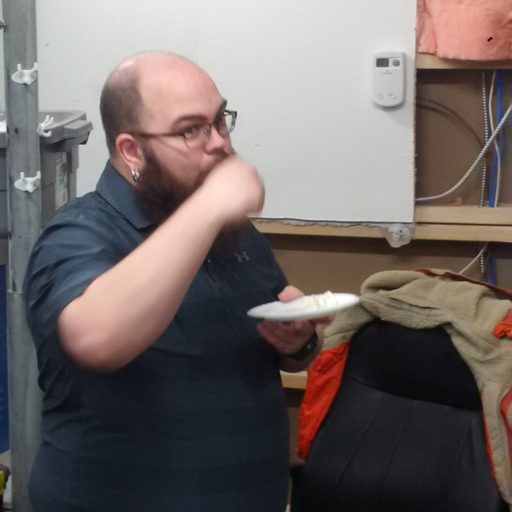
Since we failed to do anything special on the 6 year anniversary of our incorporation, (Some of our members had other plans that night — I don’t understand their priorities.) we decided to recognise it a month late.  Cake was eaten.


Posted on

3D Print All The Things

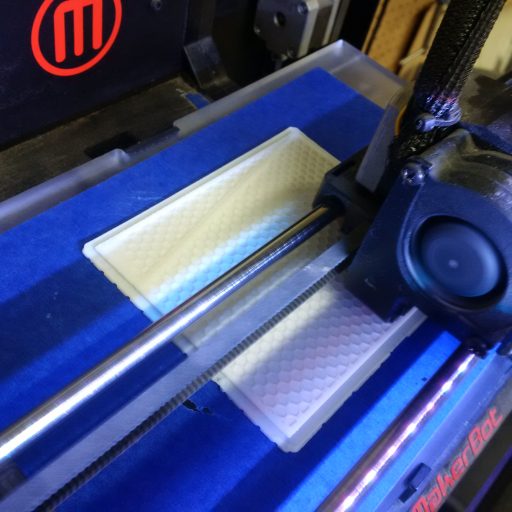
The 3D Printers at Techworks are working great!

The Makerbot Replicator 2 is relatively low maintenance and does a great job.

And, despite what anyone says, the Solidoodle 3 still works just fine when you use fresh ABS filament.  (Don’t use that green stuff that was hanging in the window at the old space.)

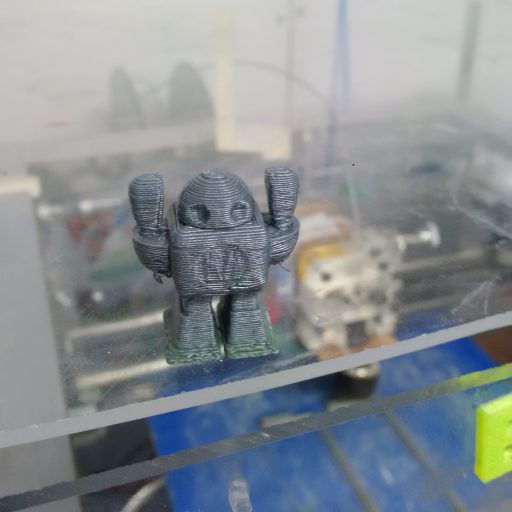
(The arms are drooping because I printed him without supports.)

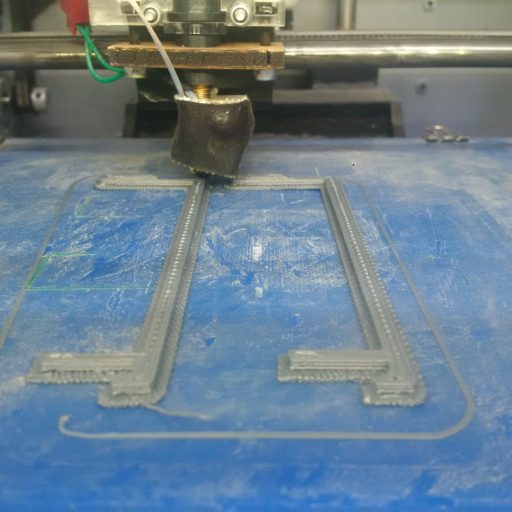
Printing some replacement parts for the enclosure.


Posted on

More Lathe Training

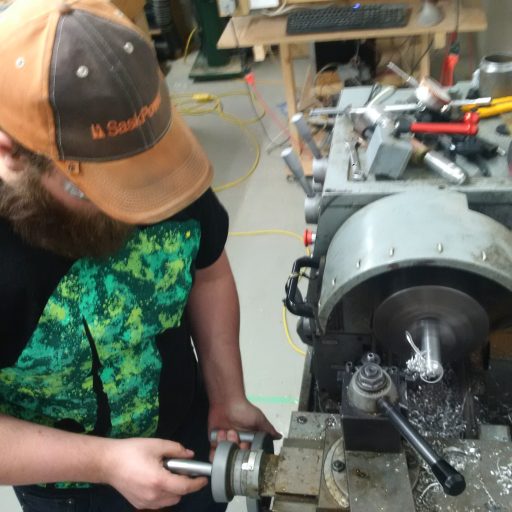
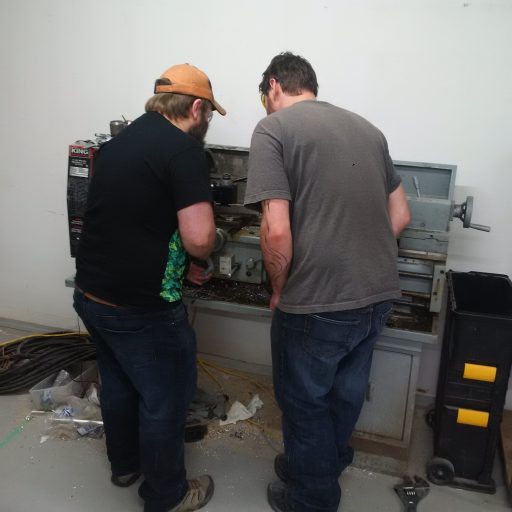
Rylan has asked me to post these links here.  He will be doing two more lathe training sessions later this week.  If you have not been trained already, the Thursday session is for you:

https://www.picatic.com/event14858074313497

and, if you already have the basic training, the advanced session on Saturday is for you:

https://www.picatic.com/event14858079182207

These training sessions are provided by Rylan at a cost of $50 per session.

Posted on

New Laser Cutter!

The new laser cutter/engraver is up and running! It has a 40cm x 60cm cut area, and does a beautiful job of rastering.

I have tested it on plywood, hardboard, and Rowmark LaserMax with good results. Suggested settings will be collected on the Wiki as we determine them.

Posted on

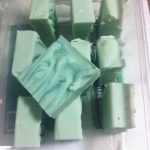
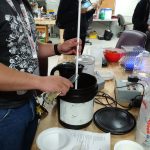
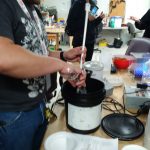
Soap Making Workshop Was Great!

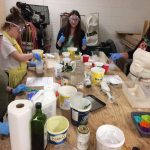
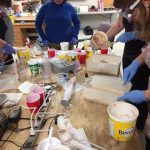
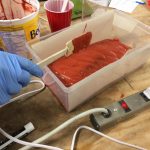
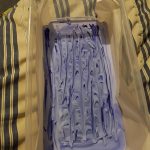
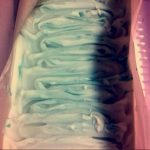
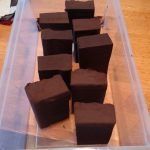
Our Soap Making Workshop on November 24th was a full house.  We had eight participants who each made their own batch of soap and coloured and scented it to their liking.

Some of the participants were definitely more artistic than me.

Posted on

Open House

Thank you to everyone — members and visitors — who came out to our open house!  It was a busy, but great day.